
The short answer
Most garage floors slope 1/8 to 1/4 inch per foot toward the door, which is normal. Fix dips under 1/4 inch with steel shims under rack feet; fill 1/4- to 1/2-inch low spots with self-leveling compound; for a whole-room slope, build a shimmed plywood platform. Add rubber flooring last — it cushions but won't level anything on its own.
On this page 14 sections
- The short answer
- Step by step
- How do I know if my garage floor needs leveling for a home gym?
- What’s the fastest way to check for slope and dips?
- Which fix matches your floor’s problem size?
- How do I level small dips under a rack with shims?
- When should I use self-leveling compound?
- How do I deal with a sloped slab across the whole garage?
- Can rubber flooring alone fix an uneven floor?
- What about cracks in the slab?
- When do I need to call a professional?
- How we researched this
- Questions
- Sources
Step by step
Confirm the slope is normal before you try to fix it
Garages are built to slope toward the door on purpose, so water drains out instead of pooling. There's no single code minimum, but 1/8 to 1/4 inch per foot is the typical range contractors use. If your floor does that and nothing more, you don't have a defect — you have a garage, and the fixes below are about working around that slope, not correcting a mistake.
Measure the slope and any dips
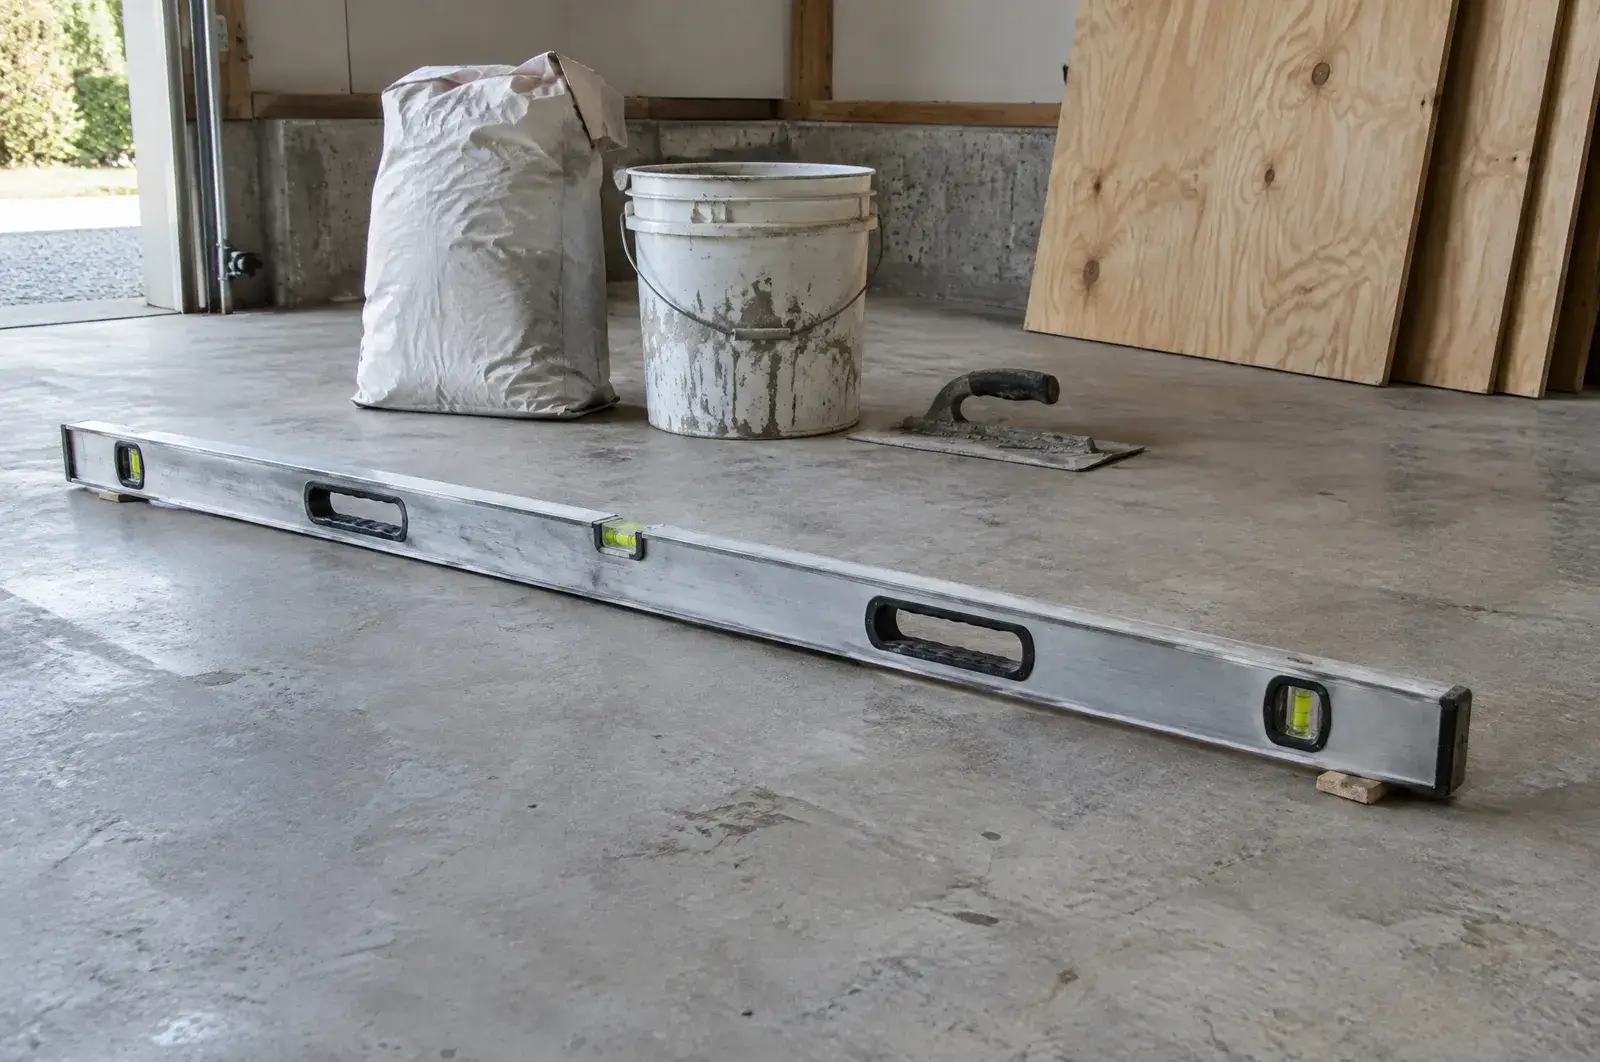
Set a 4-foot level on the slab at a few spots and note which end the bubble favors. For the whole-room slope, measure the height difference at both ends of a long straightedge (or a string line pulled taut and leveled with a line level) over a known distance, then convert to inches per foot. For local dips, lay the level across the low spot and slide a tape measure or feeler gauge into the gap to get the depth in inches.
Sort the problem into a size category
Match what you measured to the table below. A 1/8-inch gap under one rack foot needs a different fix than a slab that drops 3 inches corner to corner, and using the wrong one wastes money — self-leveling compound over a whole sloped garage can mean bags and labor for an inch of material you didn't need everywhere.
Shim individual equipment feet for small gaps
If only your rack or bench rocks on an otherwise fine floor, shim it rather than treating the whole slab. Rogue sells laser-cut steel Rig Shims in 5/64-inch and 1/4-inch thicknesses (5-packs at $15 and $30) sized for Infinity, Monster and Monster Lite uprights, installed under the base plate during bolt-down. Cut UHMW plastic sheet works as a DIY substitute for other rack brands — by our calculation (tangent of the slope angle times the base width), 1 degree of slope across a 4-foot-wide (48 in) base needs about 0.84 inch of stacked shim, so measure your actual gap with a level rather than estimating by feel.
Patch cracks before you cover them
Cracks under 1/8 inch are usually cosmetic and can be filled with a self-leveling polyurethane or polyurea sealant rated for the gap width — Sikaflex+ Crack Flex Sealant, for example, is rated for cracks up to 1 inch wide and reaches final cure in 3 to 5 days. Don't just roll flooring over a crack and hope; if it's still moving under rubber tiles or plywood, it'll eventually telegraph through.
Pour self-leveling compound for dips and low spots
For dished or dipped areas — not whole-garage slope — a cement-based self-leveler like LevelQuik RS fills from a feathered edge up to 1.5 inches in one pour, priming the slab first (required). Coverage drops fast with depth: about 46–48 sq ft per 50-lb bag at 1/8 inch, down to roughly 5.75–6 sq ft per bag at a full inch. Its listed cure time is 12 to 16 hours, so plan the pour for a day you don't need the garage.
Build a shimmed plywood platform for a whole-room slope
When the slab slopes across the whole footprint — not just one low spot — self-leveling compound gets expensive and heavy fast. One forum example: a 47-foot garage that peaked in the middle dropped about 3.5 inches toward each door over roughly 23.5 feet on either side, which would take an inch or more of compound across much of the floor to fully flatten. The common DIY fix instead is a plywood deck on shimmed sleepers built level on top of the slab, sized to just your equipment footprint rather than the whole garage. One documented build handled a 2-inch drop over an 8-foot platform using staggered plywood wedges under the sleepers.
Lay rubber flooring last, over the corrected surface
Rubber flooring cushions and protects your slab, but it doesn't level anything — a 3/4-inch mat over a 1/4-inch dip still has a 1/4-inch dip in it. Fix the slab or platform first, then add flooring: 3/4 to 1 inch thick for areas where you'll drop loaded bars or bumper plates, thinner for cardio and machine zones. If the floor still has a slight residual slope after shimming, orient your rack perpendicular to it so left and right stay even, even though the barbell may still tend to roll.
Recheck level before you bolt anything down
Set the level back across the finished surface — platform, self-leveled patch, or shimmed feet — before you drill into it. Fastening a rack to a slab that's still off by a meaningful amount stresses the uprights and can throw off J-cup and safety-pin heights on one side. A few minutes with the level now is cheaper than redoing bolt holes later.
How do I know if my garage floor needs leveling for a home gym?
Most garage floors don’t need “fixing” — they need a fix matched to what’s actually wrong with them. Garages are built with a slight slope toward the door, typically 1/8 to 1/4 inch per foot, so water runs out instead of pooling. That’s normal and isn’t something to level away. What does need attention is a local dip, a rocking rack foot, a crack, or — less often — a slope steep enough that equipment sits noticeably crooked. Set a 4-foot level on the slab in a few spots before you buy anything; the size of the gap you find determines whether you need a $15 shim, a $40 bag of compound, or a weekend building a small plywood platform.
This guide is about the concrete underneath, not the finished surface on top. Once the slab or platform is actually flat, browse our flooring hub for the mats, rolls and tiles that go over it — installing flooring before you’ve dealt with a dip just bakes the dip into your finished floor.
What’s the fastest way to check for slope and dips?
Start with a 4-foot level and a tape measure. Lay the level across the area where equipment will sit and note where the bubble lands and how big the gap under the level’s edge is at its worst point. For the whole floor, pull a string line taut across the garage at a fixed height, level it with a line level, and measure the drop from string to slab at both ends over the known distance — that gives you inches per foot.
One garage gym owner who measured this way found a 1,400 sq ft, 47-foot-long slab sloping 0.1 to 0.25 inch per foot, with the high point in the middle of the room and both ends sloping down about 3.5 inches toward their respective doors over roughly 23.5 feet each way — not unusual for a garage that was built to drain from a center ridge. Write your numbers down before you decide on a fix; it’s easy to overestimate how bad a floor “feels” underfoot versus what the level actually shows.
Which fix matches your floor’s problem size?
Use the table below as a starting point, then read the relevant section for details.
| Problem size | Likely cause | Fix | Typical materials |
|---|---|---|---|
| Under 1/4 in gap | Normal slab tolerance, one rocking foot | Shim the equipment foot | Steel or UHMW plastic shims |
| 1/4–1/2 in dip or low patch | Localized settling, old repair, drain patch | Self-leveling compound | Cement-based self-leveler + primer |
| Whole-room slope (1/8–1/4 in per ft or more) | Built-in drainage slope toward the door | Shimmed plywood platform sized to equipment | 3/4 in plywood, sleepers, shims |
| Cracks under 1/8 in | Minor slab shrinkage/settling | Seal, then cover | Self-leveling polyurethane/polyurea sealant |
| Cracks over 1/8 in, growing, stair-step, or horizontal | Possible foundation movement | Call a professional first | N/A — inspection, not a DIY material |
How do I level small dips under a rack with shims?
If the rest of the floor is fine and only one corner of your rack or rig rocks, shim it rather than treating the whole slab. Rogue’s Rig Shims are laser-cut steel plates in 5/64-inch and 1/4-inch thicknesses, sold in 5-packs for $15 and $30, and they’re built to slide in under the base plate of Infinity, Monster and Monster Lite uprights during bolt-down — they’re not compatible with Rogue’s Echo line. If your rack is a different brand, cut-to-size UHMW plastic sheet works as a DIY substitute. By our calculation (tangent of the slope angle times the base width), 1 degree of slope across a 4-foot-wide (48 in) base needs about 0.84 inch of stacked shim — steeper than a 1/2-inch-per-degree rule of thumb some DIY sites cite, so measure your actual gap with a level rather than estimating by feel, and check fit before you drill.
Shimming is the right call for a single piece of equipment on an otherwise sound floor. It’s the wrong call for a floor that’s uniformly sloped across the whole garage — see the platform section below for that case.
When should I use self-leveling compound?
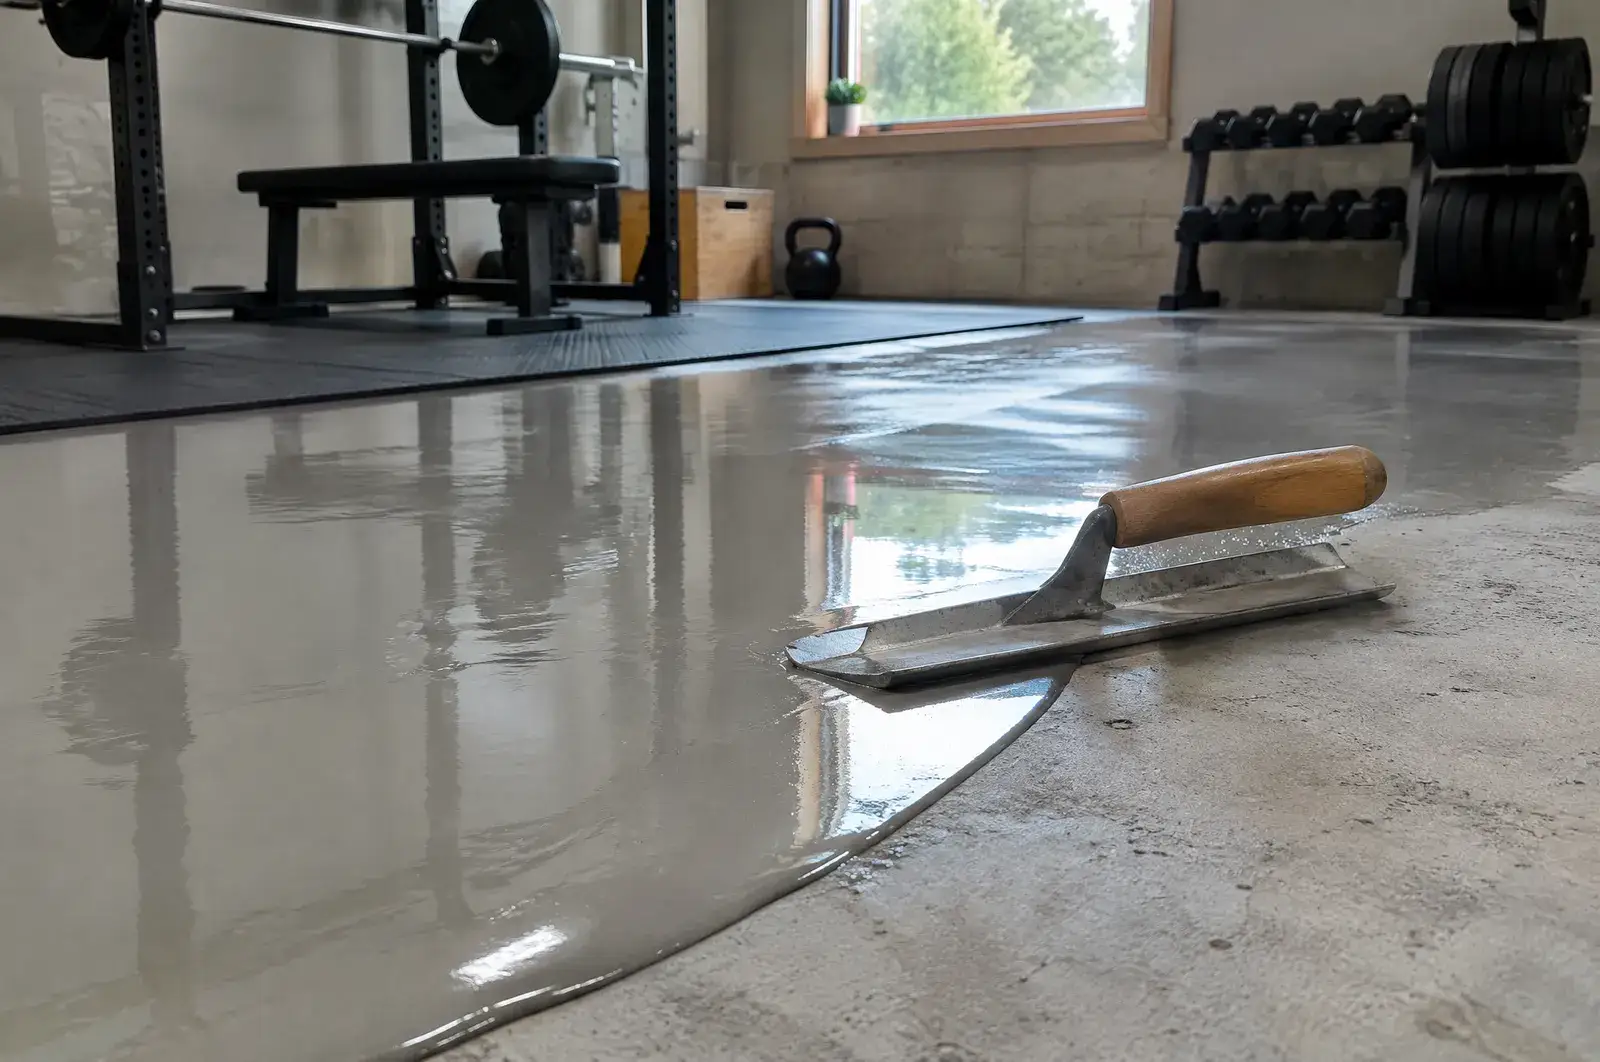
Self-leveling compound is for dips and low patches, not for correcting a garage’s built-in drainage slope across its whole footprint. A cement-based product like LevelQuik RS pours from a feathered edge up to 1.5 inches deep in a single application, but it requires priming the slab first and its coverage per bag drops fast as the depth increases:
| Pour depth | Coverage per 50 lb bag |
|---|---|
| 1/8 in | 46–48 sq ft |
| 1/4 in | 23–24 sq ft |
| 1/2 in | 11.5–12 sq ft |
| 1 in | 5.75–6 sq ft |
| 1.5 in (max in one pour) | 3.8–4 sq ft |
At $39.99 a bag (checked 2026-09-23 at Hemlock Hardware), a 1/4-inch skim over a 10 ft x 10 ft (100 sq ft) area needs 5 bags by our calculation — 100 sq ft divided by the maker’s 23–24 sq ft per bag at that depth works out to 4.2–4.3 bags, which rounds up to 5 whole bags — or about $200 in material before primer and mixing tools. Its listed cure time is 12 to 16 hours, so pick a day the garage can sit empty. Once it’s cured, follow the earlier crack-sealing step if the slab also has cracks — don’t pour leveler over an active crack without sealing it first.
How do I deal with a sloped slab across the whole garage?
This is where self-leveling compound stops making sense. Take the 47-foot garage from our measuring example above: it peaked in the middle and dropped roughly 3.5 inches toward each door over about 23.5 feet on either side. Filling that kind of whole-room slope with self-leveling compound at even a modest 1-inch average depth would take dozens of bags across the whole floor, which gets expensive and heavy fast.
The more common DIY answer is a plywood deck on shimmed sleepers, built level on top of the slab and sized to your equipment footprint rather than the entire garage. One documented build handled a 2-inch drop over an 8-foot platform using staggered plywood shims under the sleepers to distribute the load evenly, rather than one thick wedge that would concentrate weight at the edge. Owners who’ve gone this route also flag two tradeoffs worth knowing up front: a wood deck over a slab can trap moisture and attract pests if it isn’t ventilated, and full lumber costs add up if you deck a large area instead of just the footprint under your rack and platform.
If building a full platform is more than you want to take on, a middle option some owners use is shimming each major piece of equipment individually rather than decking the whole floor — more fiddly, but no lumber or carpentry required. It also lets you tackle the garage in stages: shim and level the rack this month, the bench and platform later, instead of committing to a full deck build before you can use any of it.
Whichever route you pick, measure twice before you cut plywood or order shims. A platform built to the wrong slope number just moves the unevenness from the slab to the deck, and you’ll be pulling fasteners to redo it.
Can rubber flooring alone fix an uneven floor?
No — and this is the mistake worth avoiding. Rubber gym flooring cushions impact and protects the slab underneath it, but it takes the shape of whatever it’s laid over. A 3/4-inch rubber mat over a 1/4-inch dip still has a 1/4-inch dip in it, just with a softer surface. Level or shim the floor first, then lay flooring over the corrected surface.
Once the surface is corrected, thickness still matters for what the flooring is protecting against. For areas where you’ll drop loaded barbells or bumper plates regularly, 3/4 inch to 1 inch is the range commonly recommended for garage gyms and powerlifting use; thinner rolls or tiles are fine for cardio and machine zones where nothing gets dropped. A dedicated lifting platform is usually built thicker still, in the 1- to 2-inch range, for the extra impact protection under a loaded bar. If a slight residual slope remains even after shimming — a degree or two you decided not to fully correct — orient your rack perpendicular to the slope so its left and right sides stay level with each other, even though a resting barbell may still drift toward the low side inside the rack.
What about cracks in the slab?
Hairline cracks under about 1/8 inch are usually cosmetic and can be sealed before you cover them. A self-leveling polyurethane or polyurea sealant rated for the crack’s width works for this — Sikaflex+ Crack Flex Sealant, for example, is rated for cracks up to 1 inch wide, becomes tack-free in 1 to 2 hours, and reaches final cure in 3 to 5 days. Seal first, then pour compound or lay flooring over it; don’t cover an unsealed crack and hope it stays put, since a crack that’s still moving underneath will eventually show through plywood or rubber flooring.
Not every crack is a sealant job, though — see the next section for the ones that need a professional’s eyes on them before you do anything else.
When do I need to call a professional?
Skip the DIY fixes above and call a structural engineer or foundation contractor if you see any of the following: cracks wider than about 1/8 inch, horizontal cracks (treated as needing attention immediately, since they can signal soil or water pressure against the foundation), stair-step cracks, diagonal cracks paired with doors or windows that stick, water seeping through a crack, or cracking specifically where an attached garage’s slab meets the house foundation. Any of these can mean the slab or the foundation under it is still moving, and no amount of shimming, self-leveling compound or plywood decking fixes a floor that’s actively settling — you’d just be building equipment storage on top of a problem that needs a professional diagnosis first. Local code and structural questions are also outside the scope of a DIY guide like this one; a licensed pro who can inspect your specific slab is the right call.
How we researched this
We compared flooring and leveling products from maker pages, retailer listings and published owner accounts — prices, coverage rates and cure times were pulled from manufacturer and retailer pages, not measured firsthand. We did not physically test any product on a garage floor. Where a spec or price couldn’t be confirmed on a current maker or retailer page, we left it out rather than estimate it. See our how we research page for the full method.
Before you shop for gym flooring or garage gym flooring to go over your corrected floor, it’s also worth reading how thick your flooring should be and what a full gym flooring installation typically runs, since the leveling step above is usually cheaper than the flooring that goes on top of it. If you’re planning a full garage gym conversion rather than just flooring, budget the leveling step in before you order a power rack — it’s much easier to shim or level an empty floor than one with equipment already bolted down.
Questions
Do I need to level the whole garage floor before setting up a home gym?
Usually not. Most garages have a built-in slope toward the door for drainage, and that's normal, not a defect. Unless you're building a full platform or laying rigid tile edge to edge, it's more practical to fix the specific spots under your rack, bench or platform than to relevel the entire slab.
How much does self-leveling compound cost for a garage gym floor?
A 50-lb bag of LevelQuik RS runs $39.99 and covers roughly 46–48 sq ft at 1/8-inch thickness per the maker's spec sheet (a retailer listing rounds this to about 40 sq ft), less at greater depths. For a small dip that's one or two bags; for anything approaching an inch deep over a large area, the bag count (and cost) climbs quickly, which is why whole-slab slope is usually better handled with a shimmed platform instead.
Will rubber gym flooring fix an uneven floor by itself?
No. Rubber mats, rolls and tiles cushion impact and protect the slab, but they follow the shape of whatever is underneath them. A dip or slope under the flooring will still be there on top of it. Level or shim the surface first, then install flooring over it.
Can I just use shims instead of self-leveling compound?
For a single piece of equipment on an otherwise decent floor, yes — shims under the feet are faster and cheaper than mixing compound. Self-leveling compound makes more sense when you have a genuine dip or low patch across a wider area, like where an old drain or a repaired section sank slightly.
How do I stop a barbell from rolling on a sloped platform?
Two common low-cost fixes: place a stopper like Rogue's Dead Wedges at the low end of the platform, or tuck a strip of cardboard under the rubber mat to create a small ridge. Neither corrects the slope, but both keep a resting bar from drifting off the platform between sets.
When should I call a professional instead of doing this myself?
Call a structural engineer or foundation contractor for cracks wider than about 1/8 inch, horizontal cracks, stair-step cracks, any crack paired with doors or windows that stick, or cracking right where an attached garage's slab meets the house foundation. Those can signal the slab or foundation is still moving, which no amount of shimming or leveling compound will fix.
Does self-leveling compound need a primer first?
Yes, for products like LevelQuik RS the manufacturer requires priming the concrete before you pour the compound. Skipping it is a common cause of the leveler not bonding properly, so budget the extra step and dry time into your schedule rather than pouring straight onto bare concrete.
Is a sloped garage floor safe for heavy lifts like squats and deadlifts?
A mild, code-typical slope (around 1/8 to 1/4 inch per foot) isn't a safety problem by itself, but a rack that rocks on its feet is. Shim the rack so all four feet bear evenly before you load a bar in it, and check that a bolted-down rack's uprights sit plumb, not just that the base plate touches the floor.
Sources
Every fact on this page comes from the sources below. We did not test these products by hand.
- LevelQuik RS 50 lb. Self-Leveling Floor Patch & Leveler — Hemlock Hardware, accessed
- Custom Building Products LevelQuik RS 50 lb. Self-Leveling Underlayment — The Home Depot, accessed
- LevelQuik® RS (Rapid Setting) Self-Leveling Underlayment — Custom Building Products, accessed
- Rogue Rig Shims — Rogue Fitness, accessed
- How to Deal with a Sloped Garage Gym Floor — Two Rep Cave, accessed
- Leveling a sloped garage floor? — The Garage Journal Forum, accessed
- What is the minimum slope for a garage floor slab? — How to Look at a House, accessed
- How Thick Should Gym Flooring Be — Greatmats, accessed
- How Thick Should Gym Flooring Be, According to Home Gym Experts — Garage Gym Reviews, accessed
- Horse Stall Mats — Rubber Flooring Inc (Rubberflooring4U), accessed
- Sikaflex®+ Crack Flex Sealant — Sika USA, accessed
- Diagnosing Garage Foundation Cracks: When to Worry & Who to Call — PRKED, accessed